











Most car listing photos are taken in ninety seconds in a driveway at noon, and they look it. The difference between those and photos that sell is not equipment, because the phone in your pocket is more camera than the job needs. The difference is forty minutes, a little light discipline, and knowing which pictures buyers actually use to decide. This guide covers exactly that, for private sellers and small dealers alike.
Light first: the one decision that outranks all others
Shoot in soft, even light: an overcast day, or the hour after sunrise and before sunset. Harsh midday sun creates hard shadows, blown highlights and reflections that hide the car's actual surfaces, and no editing rescues them convincingly. Move the car away from walls and other vehicles, point it so the light falls across the body rather than into the lens, and clean it the day before so water spots have dried. That preparation alone puts a listing ahead of most of its competition.
The shot list, in the order buyers read it
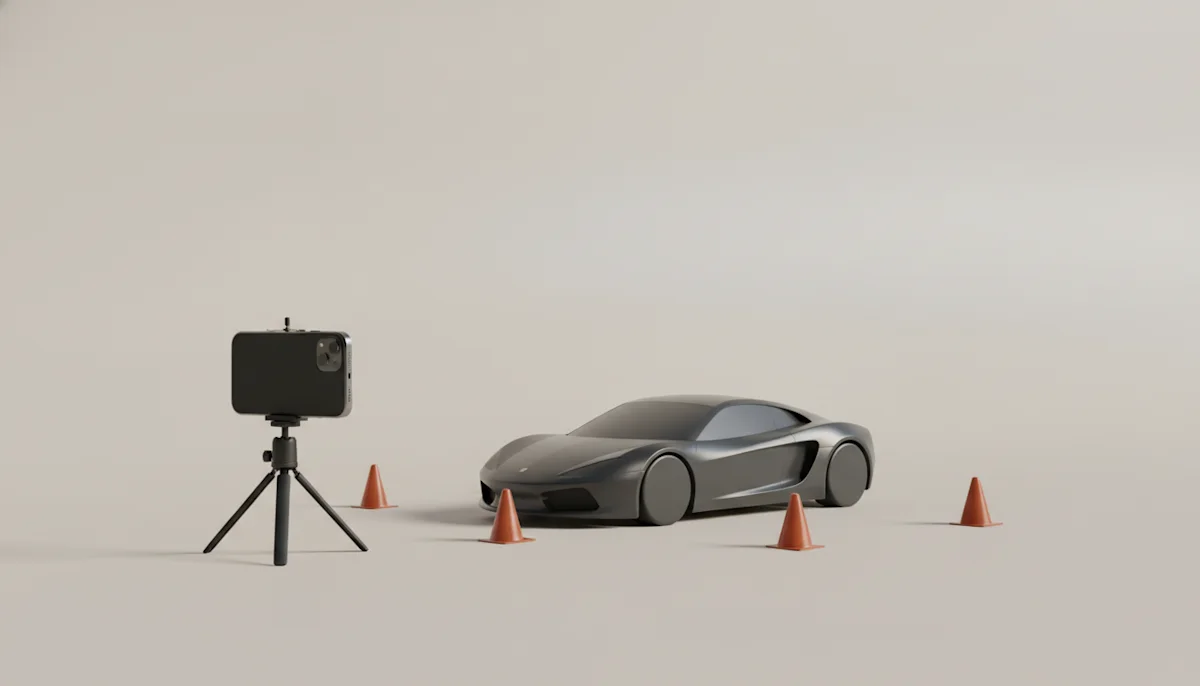
- Front three quarter from both sides, crouched to bumper height, the whole car in frame
- Straight profile from each side, stepped well back to keep proportions honest
- Rear three quarter from both sides, then straight front and rear
- Dashboard from the driver's seat, ignition on so the displays read
- Centre console, seats front and rear, boot open, spare or repair kit visible
- The odometer, the tyres with visible tread, the service book and both keys
- Every flaw, close and lit: scuffs, dents, kerbed wheels, worn bolsters
The flaw photos feel counterintuitive and do the most work. Buyers assume undocumented damage is hidden damage, and price their doubt into the offer. A listing that shows its scratches honestly collects fewer viewings that end in renegotiation, and the viewings it does collect arrive already trusting the rest of the photos.
Composition rules that survive a phone
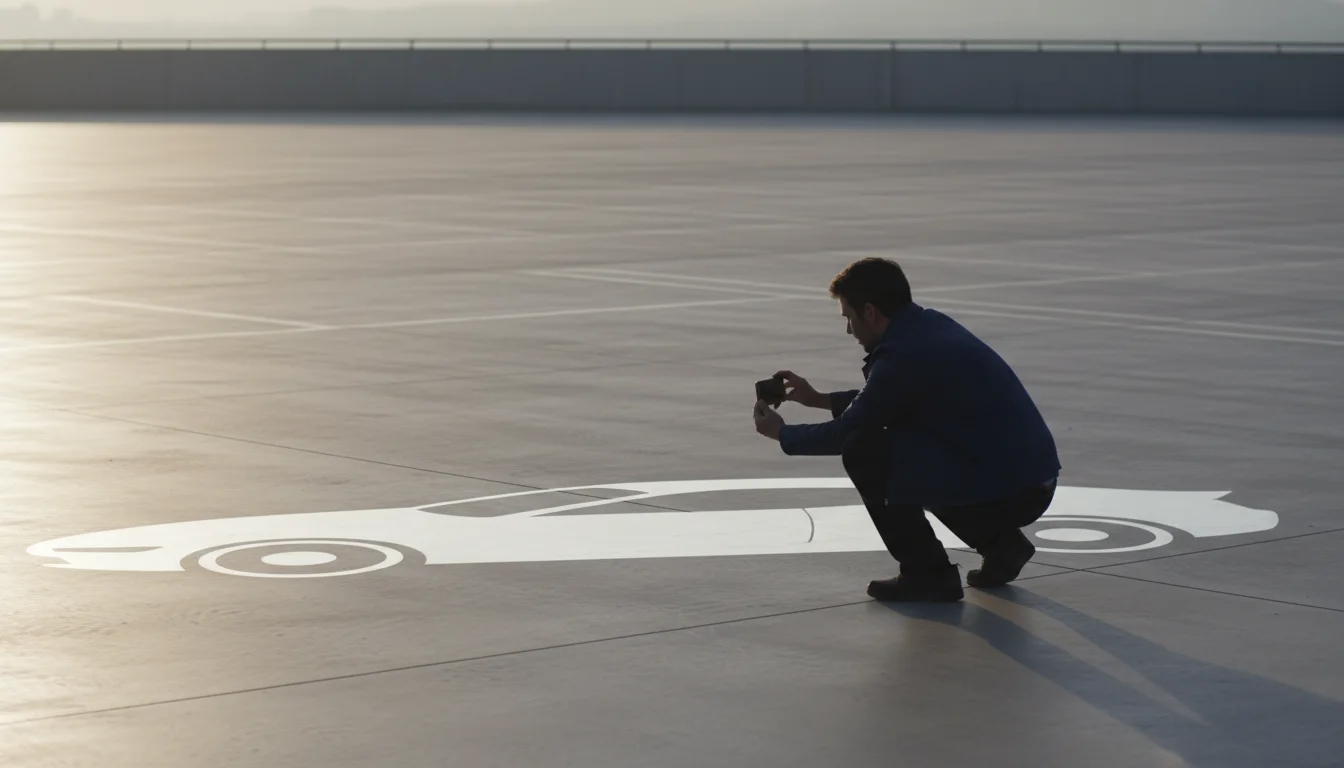
- Keep the camera at mid body height, not standing eye level, so the car does not look squashed
- Fill the frame but leave breathing room, no cropped mirrors or wheels
- Hold the phone level: tilted horizons read as carelessness everywhere
- Step back and zoom slightly rather than shooting wide up close, which distorts the nose
- Check every shot for your own reflection before moving on
What platforms add on top
On marketplaces that run a reference layer, your photos have one job: documenting this particular car. The platform's rendered image already shows what the model looks like in studio perfection, so your forty minutes go entirely into condition and honesty, which is the half only you can provide. The two layer listing guide explains how the halves fit together, and why listings built that way sell with less friction.
Buyers do not expect your driveway to be a studio. They expect your photos to be true.
A last word on editing: brightness and straightening, yes. Filters, background swaps and anything that changes how the paint or panels read, no. The car will be seen in person eventually, and the listing's credibility is spent or banked at that moment. Shoot honestly, and the photos keep working after the handshake.